AI Product Photography: From One Phone Shot to a Full Listing
A practical workflow for turning a single plain product photo into white-background listings, lifestyle scenes, and ad creatives with AI — while keeping the product pixel-accurate.
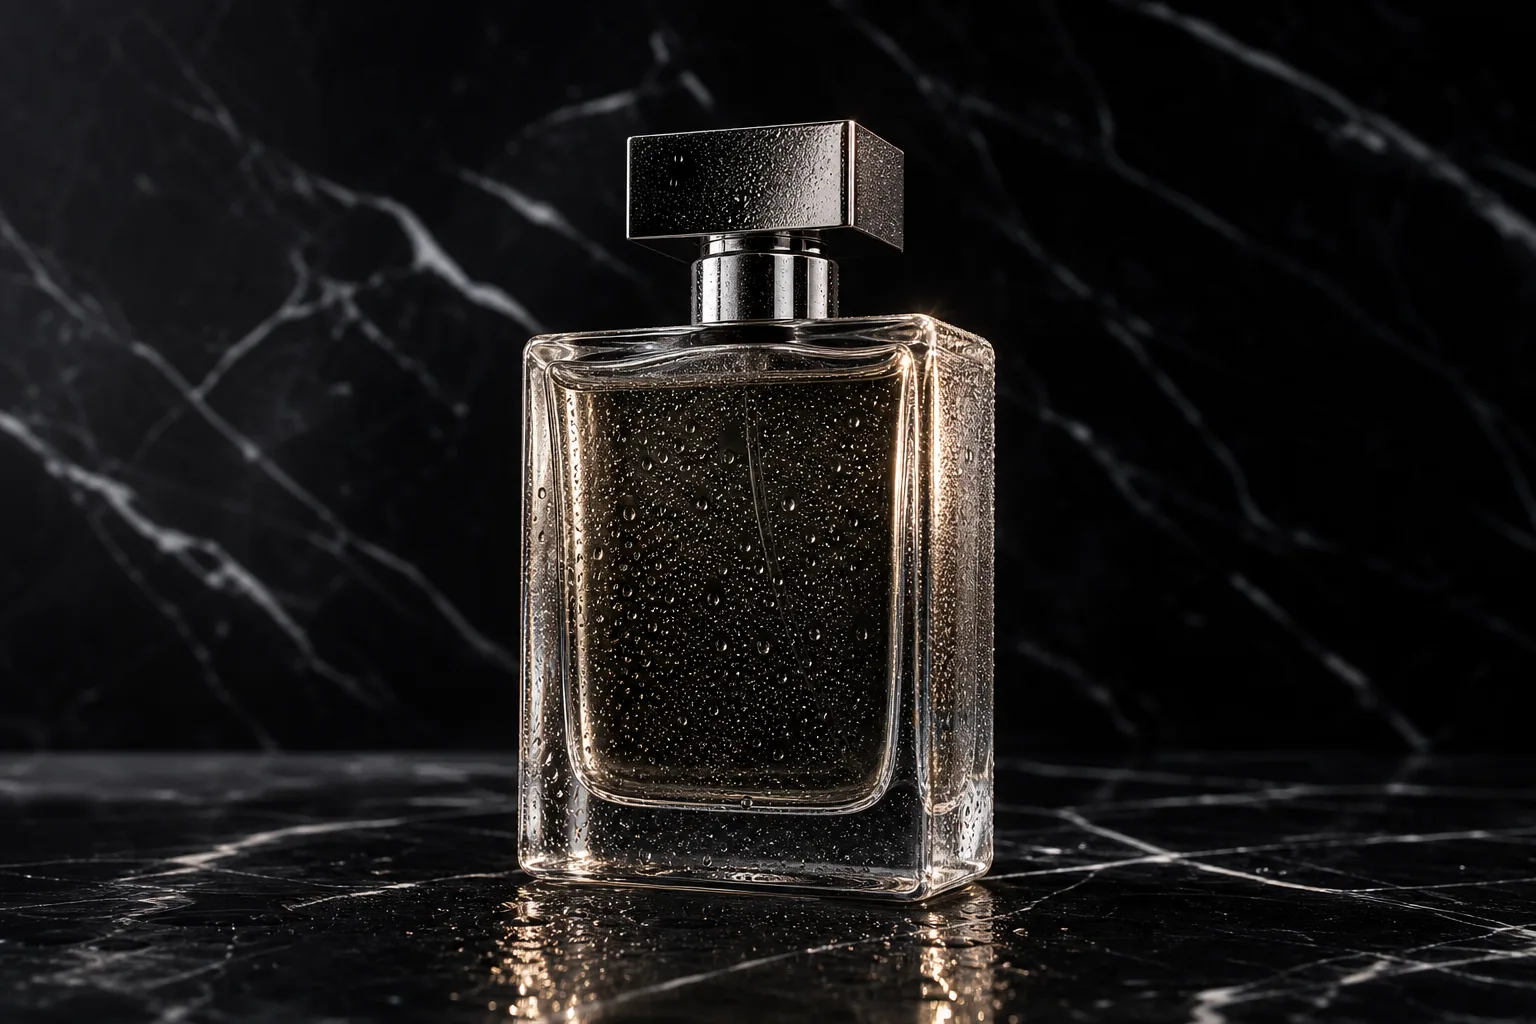
A product photoshoot costs hundreds of dollars per SKU and takes weeks to schedule. For most e-commerce images — listings, ads, seasonal variants — AI staging from a single decent source photo now gets you 90% of the way. Here is the workflow that keeps the product accurate while everything around it improves.
Step 0: The one photo that matters
Everything downstream depends on the source shot. You need exactly one good photo per product:
- Sharp and well-lit — daylight near a window works; avoid harsh phone flash.
- The full product visible — no cropped edges, nothing blocking the label.
- Boring is fine. A plain table shot is a perfect input; the AI supplies the staging.
Step 1: The white-background listing
Marketplaces want clean white. Upload your shot to the Product Photo tool and use the White listing preset. The key phrase doing the work:
Preserve the product shape, color and material exactly.
That instruction is the difference between restaging a product and generating a different product. After generating, zoom in and check the three things AI edits most often get wrong: label text, logo, and proportions. If any drift, regenerate — don't ship a listing with a mutated label.
Step 2: Lifestyle scenes without a set
The same source photo becomes a lifestyle image with a scene description: a skincare bottle on a marble bathroom shelf, a mug on a wooden desk in morning light. Two rules for believable results:
- Ask for contact shadows — "realistic soft shadow where the product meets the surface" kills the pasted-on look.
- Match the light story — if the scene is "warm morning window light", the product's highlights must come from the same direction. Say it explicitly.
The Background Replace tool does the same job when you want to keep the product's original angle and only swap the environment.
Step 3: Scale to variants
Once one scene works, the prompt is a template. Swap the surface (marble → walnut → linen), the season (spring greenery → autumn tones), or the channel format — square for the listing, 21:9 wide for the store banner. Minutes per variant instead of a reshoot per campaign.
Which model to use
- Nano Banana — the default. Best balance of preservation accuracy, speed, and cost for product staging.
- Nano Banana Pro — hero images and anything with fine label typography; render finals at 2K–4K.
- GPT Image 2 — when the ad creative needs headline text rendered into the image.
Per-image credit pricing for each is on the models page.
The honest limits
AI staging is not a substitute for photography when the product's own appearance must be documented — jewelry sparkle, fabric weave, true color for color-critical goods. Use AI for context and scale; keep one real reference photo as ground truth, and always compare the generated product against it before publishing.
Start with the Product Photo tool — the presets encode everything above.